Friday, 25 January 2013

CONCEPTUAL PORTRAITS : Proposal


Conceptual Portraits Proposal :

My original concept for my project was confusion. The feeling of having so many emotions going around in your head that you just don't know what to think anymore. I was inspired by photographs taken by Guy Bourdin, Mario Sanchez Nevado and Rankin. I wanted to portray the feeling of being torn and lost within yourself and your own emotions. I wanted to shoot my images in the studio. I thought this would be the ideal place for what I wanted to do because I wanted to focus on the person and not have the background / location as a distraction. However, I tested this idea by trying to recreate images taken by Mario Sanchez Nevado and I didn't like them. Here is a shot from the group I tested with. I decided that it looked quite easy - just looks like a person stood behind a piece of painted glass. I want to push myself more than this, and make something more creative and abstract.

I have now decided that I want to take abstract pictures of body parts. I have been inspired by photographs taken by Edward Weston and Bill Brandt. I would like to kind of mix the two styles, take pictures from interesting angles like Brandt, but capture the femininity like Weston. I'm not exactly sure what the whole concept of my project is going to be, I just know that I want to take pictures of body parts and portray them in an abstract way. I am going to use my digital camera and I am going to convert them to black and white in photoshop afterwards. I am going to take my images in the studio - there is a grey background in there and I think this would be really nice when I turn my images black and white - it will look very soft and make my images have lots of different grey tones. I am going to experiment with different lighting but I think that I would just like to have one key light. This will make the images quite soft and not too bright - also having one key light will make shadows. I would really like to make shadows on body parts and capture them and accentuate them in editing afterwards. I would like my images to be quite simplistic. No props or fancy outfits - just bare skin on a grey background. I would like my images to look quite natural, and my model to either have no nail varnish on or a plain one which isn't chipped so the models hands/skin looks very well cared for. I am going to do various different shoots and experiment with composition and cropping. I will then edit my photographs to black and white and print them. I will aim to have anything between 3 and 7 prints, depending on the size and quality of them. 

CONCEPTUAL PORTRAITS : Working in the studio

In this lesson


Thursday, 24 January 2013

CONCEPTUAL PORTRAITS : Test Shots, Mid Point Review & Crit :

I wanted to experiment with a couple of ideas, so I decided to do a couple of test shoots. My first idea was to show the feeling of being lost in your own emotions. I was inspired by images created by Mario Sanchez Nevado with paint on glass. I really liked them because they portray how I feel at the moment - I feel like I have so many emotions I just don't know what to think anymore. Here is an image from this test shoot :


I quite like the strong contrast between light and dark in this image, however, I don't really like much else about it. I think the image simply looks like someone stood behind a piece of glass with paint on it. I don't think that this idea is good grounds for an entire set of images. They would all look fairly similar and not have much variation. Doing this test shoot has made me realise that I don't want to work on this idea any further.


Test shoot 2 :

The other idea that I had was inspired by Bill Brandt's photographs of body parts. He photographs them in a way that makes them almost look like architecture. His poses are really strong and he takes his images from angles which makes body parts look almost larger than they are and less human like. I liked this idea but I wanted to create mine with a feminine element to them. Here are a few images from this shoot :


Here are some pictures from my test shoot inspired by images taken by Bill Brandt and Edward Weston. I really like how these shots have turned out, and I am going to develop on this idea for my final set of images. Now that I have decided to further this idea, I will use this photoshoot as my first one, and do more shoots to make up a set of images for my project. 

Critique:
Today we had a critique session where we showed the class our images and I got feedback on them. I presented these 4 images for critique. Here is some of the feedback that I got :

My class said that my idea was strong and unique. They said that their favourite image was the one with the hands and nails (4th one of the ones above). They said that they liked the aesthetics that I had used - the softness, black and white format and interesting angles. They said that individually some of the images have been shot in a different style, but as a set they work together. They made a connection between my work and the work of Horst. P. Horst because my images are quite feminine. They liked how I had lit the subject and edited my images to bring out lots of different tones of grey. 

Things to improve:
My class told me that it might be quite good to have images of different body parts such as shoulders and backs. Another thing someone suggested was taking pictures of the models faces to make the images more relatable - the body parts will now be assigned to a person. I will try this but I think I like the way that my images are quite abstract and they may not really need to be connected to a person.

Where to take the project:
Do another shoot, playing around with composition and try to take pictures of different body parts and faces. My class also said it might be a good idea to print my images really big to take them out of perspective as they will no longer be human size, they will be human body parts shot in an abstract way, printed in an abnormal size. I will consider this when printing my work. 


Tuesday, 15 January 2013

CONCEPTUAL PORTRAITS : Ideas and inspiration

Guy Bourdin :


Mario Sanchez Nevado :


Rankin :


Erwin Oldaf :


Bill Brandt :


Edward Weston :


Thursday, 10 January 2013

CONCEPTUAL PORTRAITS : Working with Large and Medium Format cameras :

Large Format :

Large format cameras were the first type to be used in photography when it first started. The traditional cameras used were Hasselblad, Pentax, Rollei and Kowa. One of the main advantages of large format is that the images created are of much higher resolution because the negatives that are taken are 4x5 inches. Wheras in today's compact cameras the film is 35mm. A larger negative meant that the images would have more pixels and would then be better quality when they were printed on a bigger scale. The downside to large format cameras were that they were very heavy and couldn't be very easily moved around and taken on location. This meant that photographers often had to stay in the studio and always have the same background on their photographs. Another downside to large format cameras is that they took a long time to expose an image. This meant that the subject had to stay very very still for a long time. Often the camera would expose an image for a few minutes each time, and models would have to be propped up with things behind them that the camera couldn't see to avoid them moving and making the image blurred.


This was the first negative that I took using a Large format camera. I took this on a 5x4 camera and exposed it directly onto light sensitive paper rather than onto a film negative. I loaded up the paper in a dark bag and inserted the dark slide to that no light could get to the paper. I then placed my light sensitive paper into the camera and positioned my subject in front of a white board. There was no added lighting or flash for this shoot, just the available lighting in the room that we were taking the photograph in. I exposed this image for around 8 seconds. I think this is a very long time for my model to keep completely still so my image has come out blurred. This is a disadvantage to shooting with a large format camera, because people can't stay still for that amount of time. Years ago, people used to be propped up with hidden sticks and other things so that they could stay still for the amount of time it took to take the photograph. 


Here is my first developed print of my image. In the darkroom, I took the original exposed paper out of the slide holder and placed it on the enlarger. I then placed another piece of light sensitive paper on top of it and exposed them both to light for around 20 seconds but this is how the image came out - very pale and my model doesn't have any features. I think this is because we were making a paper to paper print, which meant it was a lot harder for light to get through. 


I then decided to expose my contact image for around 60 seconds, which is how I achieved this image. It is a lot darker than the previous image since it had 3 times as much time to expose. I still don't like it very much because it is blurry. I like the effect of the image and how it looks like a really old photograph. But I think if I was to do this again I would definitely try and prop my model up in some way so that they were still and would come out in focus when I developed the image.


This was my second attempt at using a large format camera. This time I used film rather than just light sensitive paper and I definitely prefer the result. It looks more like a photograph whereas the other one looks sort of like a photogram. To take this image we all worked together as a group and all had different jobs when it came to taking the photograph. We took a range of different photographs and all did a different job each time, however, this is unfortunately the only one that came out ok. I think for the others we must have been loading the film wrong, as they all came out black. To create this image, Sam modelled for us, and I set up the lighting up by having one key light positioned at the left of the subject, only lighting one side of Sam's face creating a moody image. Natalie then took a light reading which determined which settings we would need. We took this image at 


Thursday, 20 December 2012

ONE SQUARE MILE Assignment : Paparazzi Photography


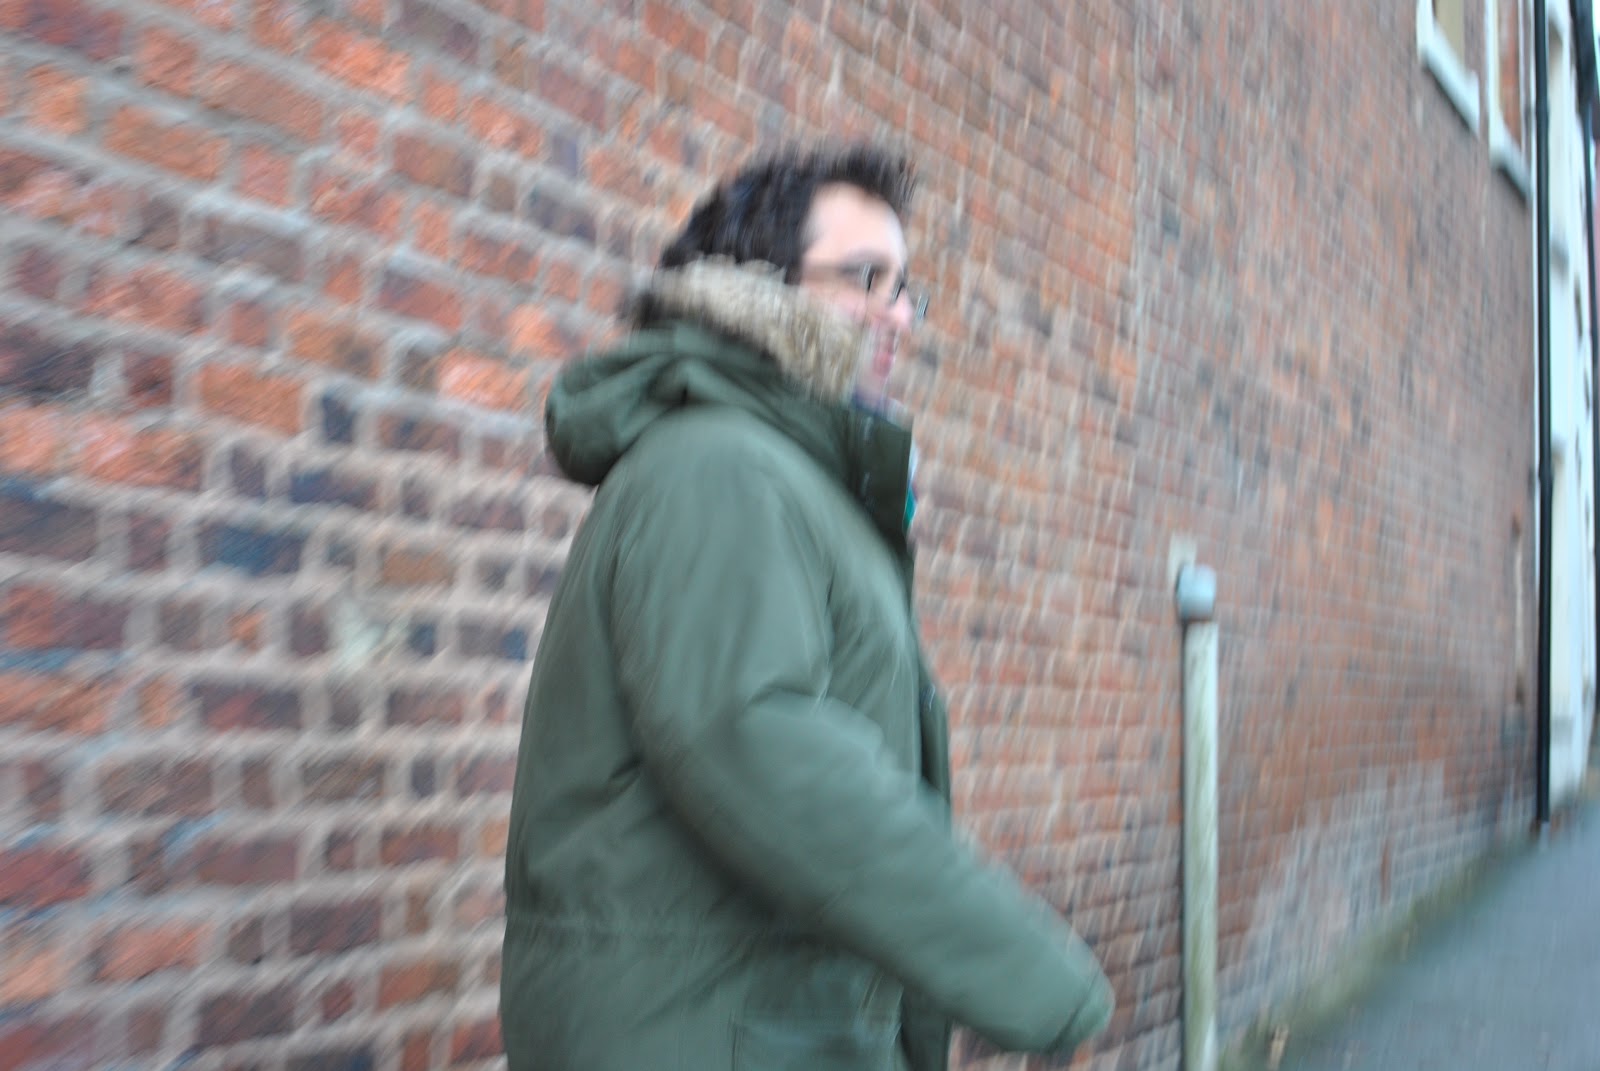
In this lesson we were told to photograph our teacher in the style of paparazzi photography. I found this very difficult and a lot harder than I thought it would be. It's difficult to keep up with the person you are trying to photograph as well as get the right settings on your camera to take the photograph. Doing this task made me realise you'd have to be a pretty fit person to be a paparazzi photographer